Weber Genesis Silver-C User Manual
Browse online or download User Manual for Grills Weber Genesis Silver-C. weber Genesis Silver-C User Manual
- Page / 36
- Table of contents
- TROUBLESHOOTING
- BOOKMARKS
- SILVER–C 1
- Warranty 3
- Contents 4
- General Instructions 5
- Genesis Silver-C NG 6
- Assembly Instructions 11
- 16 inch or adjustable wrench 13
- 4 inch wrench 16
- Installing Features 19
- View from underneath 20
- View inside of control panel 20
- You will need: side burner 21
- You will need: work surface 23
- You will need: Bottom shelf 26
- You will need: Thermometer 26
- You will need: warming rack 26
- Operating 27
- To Extinguish 28
- Manual Lighting 28
- Lighting the Side Burner 29
- Cleaning 30
- Annual Maintenance 31
- General Maintenance 32
- Troubleshooting 35
- Side Burner Troubleshooting 36
Summary of Contents
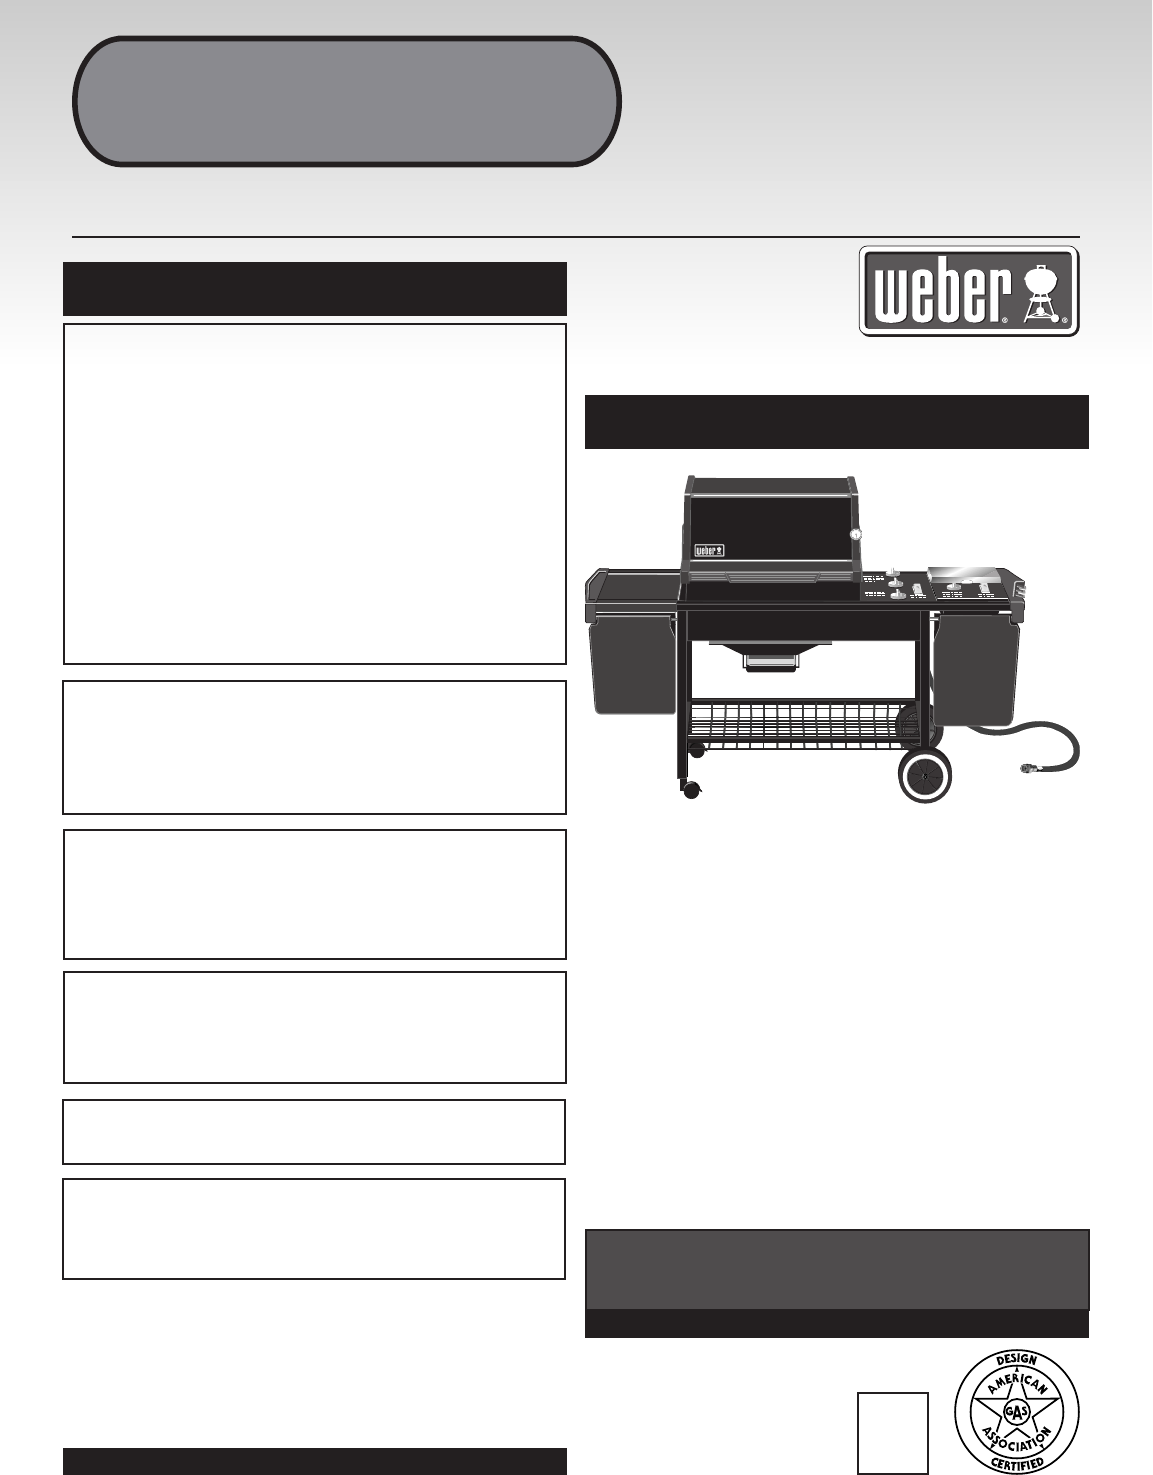
®55206 0200SILVER–CGENESIS®SILVER–CGENESIS®Gas GrillNatural GasA158.aB069.aC090.aD082.aOwners GuideYOU MUST READ THIS OWNERS GUIDEBEFORE OPERATING YOU
A-10Warming Rack - 1Warm-Up Basket - 2Flavorizer Bars - 5Front Panel - 1Back Panel - 1Bottom tray - 1Catch Pan Holder - 1Catch-Pan - 1Disposable Drip
B-1Assemble wheel frameYou will need: axle rod, two wheel hubcaps, twowheels, wheel frame, hammer and a block of wood.Place one end of the axle rod on
B-2Complete frame assemblyYou will need: partial frame assembly, two frameconnectors, four 2 inch bolts, four nylonwashers and a 7/16 inch or adjustab
B-3Insert castersYou will need: frame assembly and two casters.Push the casters firmly into the inserts in the ends ofthe caster frame.(1)(2)Add cooki
B-4Your Weber Gas Grill Manifold assembly consisting ofgas manifold, valves and gas burners has been factoryassembled, pressure- and flame- tested. As
B-5Install igniterNote - The igniter wires are already attached to theGas Catcher Ignition Chamber and the igniter. Thiswas done to factory test the i
B-6Check that all burner valves are offYou will need: burner control knobs.Valves are shipped in the OFF position, but you shouldcheck to be sure that
B-7Install the slide out bottom trayYou will need: the slide out bottom tray(1), catch panholder(2), catch pan and one disposable drip pan.Hook the en
B-8Install control panel and burner control knobsYou will need: control panel, two Phillips screws/washers, a Phillips screwdriver, and burner control
C-1Installing FeaturesC090.a(1)Install the right end trim piece with tool holdersand right swing-up work surfaceYou will need: Right trim piece with t
A-2m DANGERFailure to follow the Dangers, Warnings and Cautions contained in this Owner’s Manualmay result in serious bodily injury or death, or in a
C-2(1)(2)View from underneathView inside of control panel4.) While holding swing-up work surface in position,insert the other end of the swing-up work
C-3Install side burnerYou will need: side burner,m WARNING: Make sure gas supply is off.Start the side burner hose into the opening betweenthe control
C-4Connect the side burner hose as follows:1) Slide back the collar of the quick disconnecton the manifold.2) Push the male fitting of the side burner
C-5Install the work surfaceYou will need: work surface.Place the work surface, so that the front and backedges fit over the frame, in the area between
C-6Check for gas leaksm DANGERDo not use an open flame to check for gasleaks. Be sure there are no sparks or openflames in the area while you check fo
C-7Check:1) Hose to manifold connection2) Manifold to side burner hose connectionm WARNING: If there is a leak at connection(1),retighten the fitting
C-8Install the bottom shelfYou will need: Bottom shelf.Set the bottom shelf in place between the two frameconnectors underneath the cooking box.Instal
D-1LightingSummary lighting instructions are on the control panel. DANGERFailure to open the lid while igniting thebarbecue’s burners, or not waiting
D-2To ExtinguishPush down and turn each burner control knobclockwise to the OFF position. Turn gas supplyOFF at the source.Manual Lighting DANGERFail
D-3Lighting the Side BurnerThe side burner has a separate ignition system fromthe main cooking box. CAUTION: Side burner flame may be difficult tosee
A-3WarrantyAluminum Castings, lifetime, 1 year paintPorcelain Hood Section, 25 yearsBurners, 10 yearsIgniter, 3 yearsCooking Grates, 3 years no rustth
D-4Cooking WARNING: Do not move the Weber GasBarbecue when operating or while barbecue is hot.You can adjust the FRONT and BACK burners asdesired. Th
D-5Annual MaintenanceAfter a period of nonuse, we recommend that youperform the following maintenance procedures for yoursafety. WARNING: Check the h
D-6General MaintenanceWeber Spider Stopper™ GuardsYour Weber Gas Barbecue, as well as any outdoor gasappliance, is a target for spiders and other inse
D-7(1)(1)(1)(2) (1) Replacing Main Burners1) Your Weber Gas Barbecue must be OFF and cool.2) Turn gas OFF at source.3) To remove control panel: take o
D-8Crossover® Ignition System OperationsIf the Crossover Ignition System fails to ignite the Leftburner, light the Left burner with a match. If the Le
D-9TroubleshootingProblem Check CureBurners burn with a yellow ororange flame, in conjunction withthe smell of gas.Inspect Weber Spider StopperGuards
D-10Side Burner TroubleshootingProblem Check CureSide Burner does not light.Flame is low in HIGH position.Flame is very yellow inconjunction with the
A-4Danger & Warnings ... A-2Warranty ... A-3General Instructions ...
A-5General InstructionsYour Weber Gas Barbecue is a portable outdoorcooking appliance. With the Weber Gas Barbecue youcan grill, barbecue, roast and b
A-6Genesis Silver-C NG123467891011121314151618192022232425262728293031323334353637383940414245463347481850495152543214417
A-71. Hinge Pin2. Left Endcap3. Shroud4. Handle5. Warm-Up Baskets6. Warming Rack7. Cooking Grates8. Flavorizer Bars9. Cooking Box10. 1/4-20 keps nut11
A-8© 1999 Weber-Stephen Products Co., Weber, the silhouette, and the kettle configuration are registered trademarksof Weber-Stephen Products Co.,
A-9ScrewdriverPhillips screwdriverHammer7/16 open-end or an adjustable wrenchPliersBlock of woodLid - 1Cooking Box - 1Cooking grates - 2Control panel
More documents for Grills Weber Genesis Silver-C

Related products and manuals for Grills Weber Genesis Silver-C


 (76 pages)
(2 pages)
(19 pages)
(24 pages)
(36 pages)
(32 pages)
(16 pages)
(80 pages)
(44 pages)
(2 pages)
(2 pages)
(48 pages)
(56 pages)
(76 pages)
(2 pages)
(19 pages)
(24 pages)
(36 pages)
(32 pages)
(16 pages)
(80 pages)
(44 pages)
(2 pages)
(2 pages)
(48 pages)
(56 pages)


 (16 pages) (110 pages)
(36 pages)
(56 pages)
(50 pages)
(16 pages) (110 pages)
(36 pages)
(56 pages)
(50 pages)
© 2020, manymanuals.com. All rights reserved. | 0.057 s |
 Manymanuals.com
 Manymanuals.de
 Manymanuals.fr
 Manymanuals.it
 Manymanuals.pl
 Manymanuals.cz
 Manymanuals.es
 Manymanuals-pt.com
Comments to this Manuals