Weber Genesis 4000 LP Owner's Manual
Browse online or download Owner's Manual for Barbecues & grills Weber Genesis 4000 LP. Weber Genesis 4000 LP Owner`s manual User Manual
- Page / 44
- Table of contents
- TROUBLESHOOTING
- BOOKMARKS
- 4000 Series 1
- DANGER 2
- WARNINGS 2
- WARRANTY 3
- PATENTS AND TRADEMARKS 4
- Contents 5
- General Instructions 6
- Assembly 7
- Assemble wheels 11
- Assemble frame 11
- Install side burner locks 13
- Add cooking box 13
- Install tank panel assembly 14
- Add fuel scale 14
- Install igniter 15
- Install manifold bracket 16
- Install side burner 16
- Install left hand swing table 17
- Tank lock 20
- Scale setting 20
- Connect LP tank 21
- Insert Flavorizer Bars and 23
- Steam-N-Chips Smoker 23
- Install the bottom tray 24
- Install cooking grates 24
- Install the lid 25
- Secure side burner 26
- OPERATING INSTRUCTIONS 27
- To Extinguish 28
- Manual Lighting 28
- Lighting the side burner 29
- Storage and/or Nonuse 30
- Periodic Cleaning 30
- Using the Steam-N-Chips 31
- Refilling the LP tank 32
- Male fitting 33
- Regulator 33
- Quick disconnect 33
- Safe handling tips for LP Gas 34
- Annual Maintenance 35
- General Maintenance 36
- FlameCheck Safety System 39
- TROUBLESHOOTING 40
- Side Burner Troubleshooting 41
- Side Burner Maintenance 41
- Parts List 43
- A FINAL WORD 44
Summary of Contents
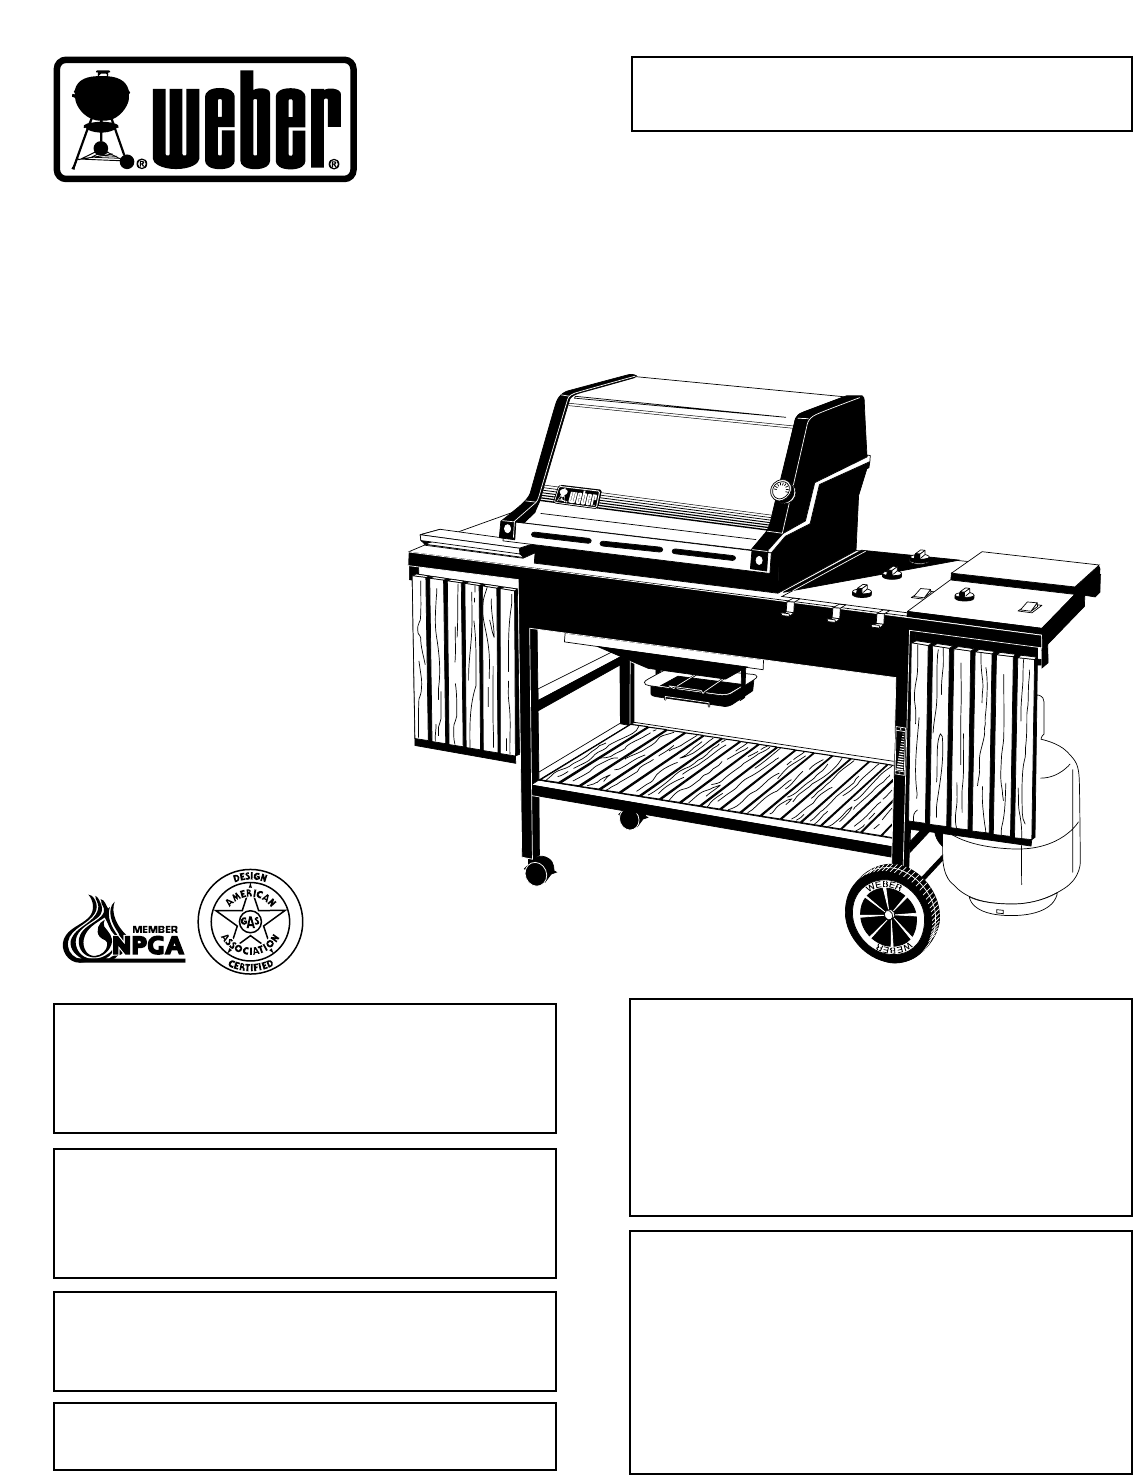
Serial NumberPlease use this number in registering your warrantyand any correspondence with the factory.GENESIS®4000 SeriesLP Gas BarbecueOwner’s Manu
10Four 10-24 x 1 3/4 machine screws(actual size)Four 10-24 hex nuts(actual size)Twenty two 1/4 inch nylon washers(actual size)1/4-20 keps nut1/4-20 x
11Step 2Assemble wheelsYou will need: axle, two wheel hubcaps, two wheels,wheel frame, hammer and a block of wood.Place one end of the axle on the bl
12Step 4Continue frame assemblyYou will need: frame assembly, wheel frame assembly,front panel, caster frame, four 1/4-20 x 1/2 inch bolts,four nylon
13Step 7Install side burner locksYou will need: frame assembly, 2 side burner locks anda 7/16 inch wrench.Turn frame assembly right side up.Loosen th
14Step 9Install tank panel assemblyYou will need: tank panel assembly, 1/4-20 x 1 1/4 inchbolt, 1/4-20 hex nut, nylon washer and a 7/16 inchwrench.In
15Step 11Install igniterNote - The igniter wires are already attached to the GasCatcher Ignition Chamber and the igniter. This was doneto factory test
16Step 13Install side burnerYou will need: side burner assembly, burner grate,manifold bracket, 3/4 inch, 5/8 inch and an 11/16 inch ortwo adjustable
17Slot in frame(view from below)Insert one end of the hinge rod into the hole in theframe. Figure 18 (a).Insert the other end into the hole in the swi
18Position slide bar assembly on the outside of the casterframe. Put a nylon washer on each 1 3/4 inch screw,insert screws through frame and slide bar
19Figure 22View from rearof barbecueHinge rodFigure 23Figure 24To lower table: Pull support rod up to disengage slidelock and lower table. To raise t
2 DANGER Failure to follow the Dangers, Warnings and Cautions contained in this Owner’sManual may result in serious bodily injury or death, or in a
20Step 17Set LP fuel scaleYou will need: LP tank (empty).Note - For accuracy, the fuel scale must be set with anempty tank.We utilize various LP tank
21Route the hose so it will not interfere with the scaleindicator rod.The hose and regulator are connected in the followingmanner:Slide back the colla
To perform leak checks: open tank valve by turning thetank valve handwheel counterclockwise. Figure 29.Put the FlameCheck button on the FlameCheck val
23Check:a) Hose to manifold connection. Figure 31 (a).b) Regulator to tank connection. Figure 31 (b).c) Manifold to side burner hose connection.Figur
24Step 23Install the bottom trayYou will need: bottom tray, catch pan holder, catch panand one drip pan.Hook the ends of the catch pan holder into th
25Step 24Install the lidYou will need: lid, two hinge pins and two hair pin cotters.Set the lid in place. Align the hinges at the rear of thebarbecue
26Step 27Complete accessory installationYou will need: work table, two accessory trays, servingtray, Warm-Up Basket, warming rack, thermometer, twotu
2727LightingSummary lighting instructions are on the control panel.Crossover Ignition SystemNote - The Crossover Ignition System ignites the Frontburn
284) Turn the tank on by turning the tank valvecounterclockwise. 5) Push Front burner control knob down and turn toSTART/HI.WARNING: Do not lean ove
29Lighting the side burnerThe side burner has a separate ignition system from themain cooking box.The side burner will only operate when the Frontburn
3Weber-Stephen Products Co. (Weber) herebywarrants to the ORIGINAL PURCHASER ofthis Weber Gas Barbecue that it will be free ofdefects in material and
30CookingThe Weber Gas Barbecue should not be movedwhen operating or hot.You can adjust the FRONT, CENTER and BACK burnersas desired. The control sett
31Using the Steam-N-ChipsSmokerThe Steam-N-Chips Smoker cooks with both WeberFireSpice Wood Chips and Chunks. For best results withfaster cooking food
32Scale setting wing nutTank lockwing nutTank valveCollar(a)(b)Figure 5Refilling the LP tankWe recommend that you refill before the scale indicatorrea
33c) Connect the hose to the tank. Route the hose so itdoes not interfere with the scale indicator rod. Slideback the collar of the quick disconnect o
34Safe handling tips for LP Gas Liquid Propane (LP) gas is a petroleum product asare gasoline and natural gas. LP gas is a gas atregular temperatures
35WARNING: If there is a leak at connections (a) or(c), retighten the fitting with a wrench and recheckfor leaks with soap and water solution.If a le
36General MaintenanceWeber Spider Stopper GuardsYour Weber Gas Barbecue, as well as any outdoor gasappliance, is a target for spiders and other insect
37h) Lift and twist the burner assembly slightly, to separate the crossover tube from the burners. Figure 19. Remove the burners from the cooking box.
j) Reinstall the Spider Stopper Guards. Slightly rotate the Spider Stopper Guards so that the seams are in line with the Venturi fins. There should be
39FlameCheck Safety SystemThe correct positioning of the thermocouple probe isshown in Figure 23. The tip of the probe is positioned inthe flame. The
© 1996 Weber. Weber, , Genesis, Flavorizer and Crossover areregistered U.S. trademarks; Perma-Mount, Gas Catcher,FlameCheck, Steam-N-Chips, Spider
4040ProblemBurners burn with a yellow or orange flame, in conjunction with the smell of gas.Burners do not light. -or-Burners have a small flickering
4141ProblemSide burner does not light.Flame is low in HIGH position.Flame is very yellow in conjunction withthe smell of gas,ORBurner makes popping no
42®®®®®®®®WEBERWEBER12378910111213141621-2220232729 30 31 32 33 34 3640171567-6863-6662615553545248-49514745444342411724354639564-638251557-5937372628
Parts ListAll items are single quantities unless otherwisespecified.Parts can be ordered directly from Weber-StephenProducts Co. by phone or mail.Note
A FINAL WORDOFTHANKShank you for choosing a Weber Barbecue.Our family here at Weber has worked hardto produce the highest quality products for your sa
5ContentsWARNINGS... 2Warranty & Patents...
6General InstructionsYour Weber Gas Barbecue is a portable outdoorcooking appliance. With the Weber Gas Barbecue youcan grill, barbecue, roast and bak
Step 1Check package contentsCooking box (assembly)Lid (assembly)LP tank LP tank filler adapterBottom trayWork tableTwo accessory traysTwo swing tables
Serving trayControl panelFront panelLeft frameWheel frameTwo frame connectorsTank panel assemblyFive long Flavorizer BarsSeven short Flavorizer BarsTw
9Right hand slide bar assemblyAssembly consists of:Right hand slide barSupportSlideLeft hand slide bar assemblyAssembly consists of:Left hand slide ba
Related products and manuals for Barbecues & grills Weber Genesis 4000 LP

 (44 pages)
 (32 pages)
 (189 pages) (24 pages)
© 2020, manymanuals.com. All rights reserved. | 0.103 s |
 Manymanuals.com
 Manymanuals.de
 Manymanuals.fr
 Manymanuals.it
 Manymanuals.pl
 Manymanuals.cz
 Manymanuals.es
 Manymanuals-pt.com
Comments to this Manuals